 Me
Me
 Name: Rita Lee
From: SINGAPORE, Singapore, Singapore
About me:
Like
- music
- Dancing
- Sewing
- Beading
Friends & Fav Links
Archives
Previous entries
- Dear Reader
- "Multi color bricks"
- Finally it is ready after quite sometime. I quite ...
- Eton Collar Blue Dot cotton Dress (Part 1)
- Basic Hand Sewing(sources:http://www.startsewing.c...
- Taking Body Measurements(sources:http://www.starts...
- Sewing Terminology (Source :http://www.sewing.org/...
- Sewing kits-- MUST HAVE LIST
- OverLock Machine
- Brother BM-2600
Dear ReaderSo sorry for didnt post new thing in my blogs for long time, I was very very busy with my school and no time to sew dress, I hope it won't stop you all to visit my blog. I promise you all that I will post new project and more tips when I 've done my exam around end April 2009. see ya!!!
"Multi color bricks"
Made this dress on 30th August 2008, sewing it while chit chat with my mama.. I purpose design this as simple as possible. I wearing this on 1st September to office with white shoes, my colleagues said it is look so 60's.... what do you think??

Finally it is ready after quite sometime. I quite satisfied with the outcome and finished, It is fitting and done nicely... But the cloth is not so friendly for eyes.. (i dont knw ..how to explain it.. so when I wear this dress , you just look at me then you will know what I mean...hahaha)
Eton Collar Blue Dot cotton Dress (Part 1)
This is my 1st post for dressmaking, but it is not the 1st dress that I made for myself..:)

Actually I should show you, how to draw this pattern. But I just realize it when i already cut off the paper pattern :p PAISE..!!
Nevermind.. Next time I promise you all, to post " how to draw pattern" .
This 3 paper cutting are Body back and front part plus collar.
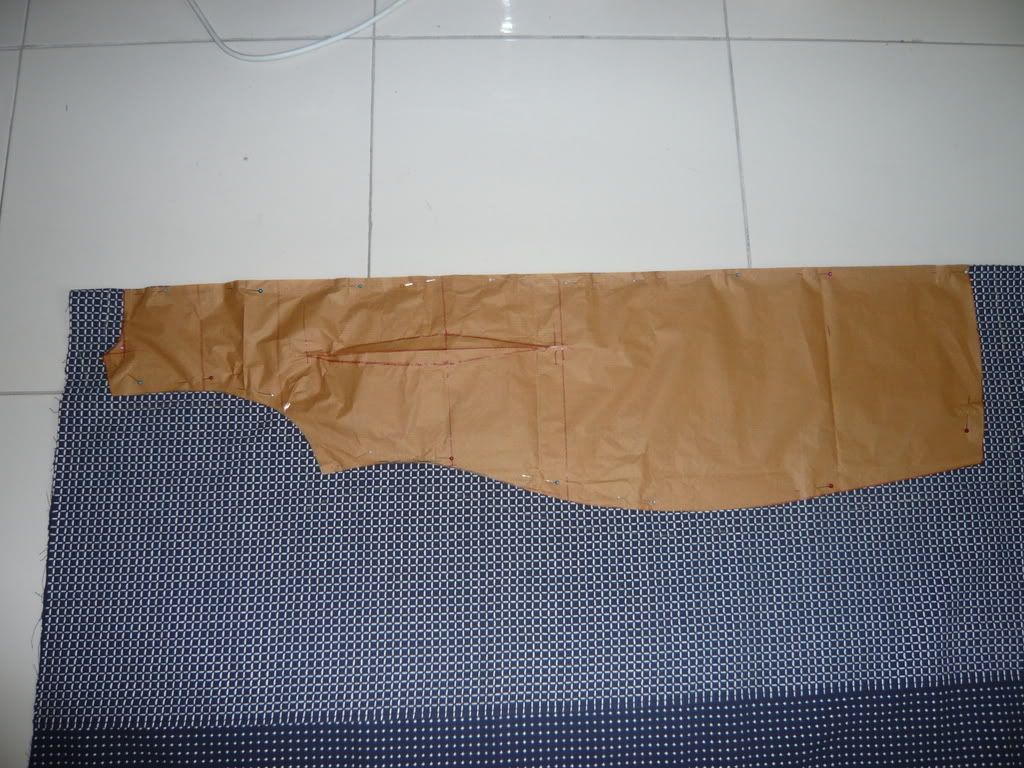
Lay out back part of body on onfold material and give allowance 3cm for bottom, 2 cm for side, 1.5 cm for armhole and collar and for shoulder join is 2 cm.
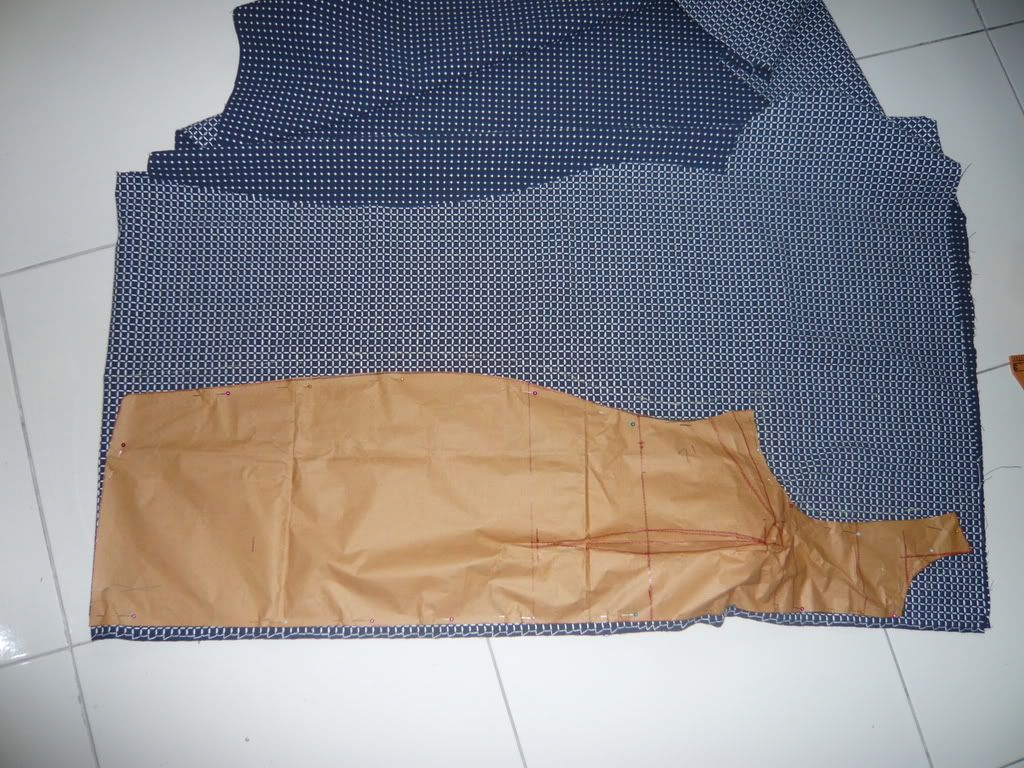
For front part , lay the paper pattern on 2 layered of material and place it near to the edge and give allowance 1 cm ( join the another part for buttons.. as this dress is front buttons opening).

Remember!! when you lay out the pattern for front part,please put small piece of cloth ( about tennis ball size) or used a bra padding ( for me, I prefer to use bra padding , because it easier to manage)under the material ,put near the bust point. Do you know why I have to put cloth or bra padding under the material? :-)
the answer is simple.. We are women who has breast on our body front part, so if you put padding when you lay out and cut the material , the front part of your dress will fit you nicely.

Cutting Time.....
To Be continue in Part 2....
Basic Hand Sewing(sources:http://www.startsewing.co.uk/BasicHandSewing.html)
It’s time to step away from the machine. If you are a die-hard machinist this might be a trying time but don’t fear! Hand sewing is a skill that can be re-learnt easily. Here are some basics that no self-respecting dressmaker can be without.
The Magic FourHere are four magic stitches that can see you through any sewing project. They can be used on any fabric and in the creation of any item – from clothes to home furnishings.
The beauty of hand sewing lies in the precision. You can really control where you are going to put those stitches. There is no doubt that it will take longer than a sewing machine but when the machine is out of action or when you simply want to do some detailed work you need to know these basics.
The beauty of hand sewing lies in the precision. You can really control where you are going to put those stitches. There is no doubt that it will take longer than a sewing machine but when the machine is out of action or when you simply want to do some detailed work you need to know these basics.
Backstitch
Backstitch is your number one stitch. How do you spot it on a fabric? It looks perfect and neat from the top, with a seemingly continuous line. However, from underneath the stitches look like they are double-spaced. This is really one stitch that you should have in your skill set. The great news is that perfect sewing like this is relatively easy to master. All you need is some simple thread and a standard universal needle. Practice on a spare bit of fabric before you commit to your project piece.
Start by inserting the needle from the underside of the fabric and pull the thread through until you feel the knot meeting the fabric edge. Bring the needle back, approximately 3-4mm and insert it through the topside of the fabric. Then simply put the needle in through the end of the first stitch and out a stitch ahead continuing until you run out of fabric to work with! The backstitch is a strong and reliable stitch. For that reason it should be your stitch of choice when putting hems together on garments.
Basting
Do you need to put two pieces of fabric together quickly? Then you need to baste!
Basting is the technique of choice when you need to put a quick hem together but when you are not sure of the total length and so don’t want to commit to a permanent stitch. It’s kind of like a marking your fabric.
Basting is the technique of choice when you need to put a quick hem together but when you are not sure of the total length and so don’t want to commit to a permanent stitch. It’s kind of like a marking your fabric.
Basting is a really simple technique and great news for those of us with little skill and time. There is no need to be detailed or to be a perfectionist – all you need to do is secure the fabric – you don’t need to worry about the look of the stitch. Get a standard needle and threat together. You can do away with the knot on the thread – it will make it easier for you when you pull them out at the end anyway. Simply insert the needle and start creating simple stitches, about 1 inch long. Secure the end with a loose knot – you don’t want your hard work to fall out!
Running Stitch
A running stitch is your saviour! When you have been saddled with clothing repairs you simply need to enlist the running stitch to help you out. Just like the others, this is really simple to master.
Running stitch is slightly similar to basting. The only difference is that the stitches are shorter, even and slightly more precise. This time thread the needle and thread, making sure that you knot the end. Insert the needle from the top to the bottom and then weave the needle in and out of the fabric 2-3 times. Pull the thread all the way through although do so with caution – you want to avoid that hideous puckering.
Overcast
Want to stop your fabric edges from fraying over time? You need to get to grips with over-casting. Get a needle and thread, with a knot at the end and insert the needle from the bottom of your fabric. Then pull the thread through the knot, inserting the needle from the wrong side again a few millimeters to the left of the knot. Then pull the thread all the way through – you want it to be secure but don’t be too heavy-handed.
Continue all the way round your hem. If your fabric is prone to fraying you will need to make sure that your stitches are as small as possible.
Continue all the way round your hem. If your fabric is prone to fraying you will need to make sure that your stitches are as small as possible.
RecapHand sewing is so simple. There are really only a few different stitches that you need to know and they can be enlisted in times when you need create an item of clothing from scratch or when you are repairing fabrics.
Taking Body Measurements(sources:http://www.startsewing.co.uk/TakingBodyMeasurements.html)
Taking body measurements is a fine art and requires some time and dedication. It is not just a case of bust waist and hip inches – clothing measurements are far more detailed than this and if you want to make a custom-fitted item you must go that extra step. Here are the basics that you need to know.
The ToolsThere are a few tools that you need to get started and it might be more than you expect:
-A tape measure
-A piece of elastic
A friend or an extra pair of hands to help you get those exact measurements in the hard to reach places If you are measuring someone, make sure that they are not wearing bulky clothes. They should ideally be dressed in well-fitted undergarments. That means bras that fit well across the bust and back and items that give an accurate representation of the figure, without distorting the shape of the person being measured.
Posture, Posture, PostureWhether you are measuring yourself or a friend, you need to make sure that the foundation is right. That means that you must stand correctly and with good posture. Whoever’s measurements are being taken needs to stand with eyes straight ahead and with the arms relaxed at the side. Shoulders should be relaxed and the back should be straight. We don’t typically stand like this all the time but we need to start with the best possible base.
The Magic NumberDifferent book and sources will tell you a different answer but there are roughly ten areas of the body where you should take measurements. This may differ between male and female but the following areas are based on the female figure.
If you capture all of these measurements you will be guaranteed that you are on the right track to produce a precise and well-fitted garment.
Here are the places that you need to measure:
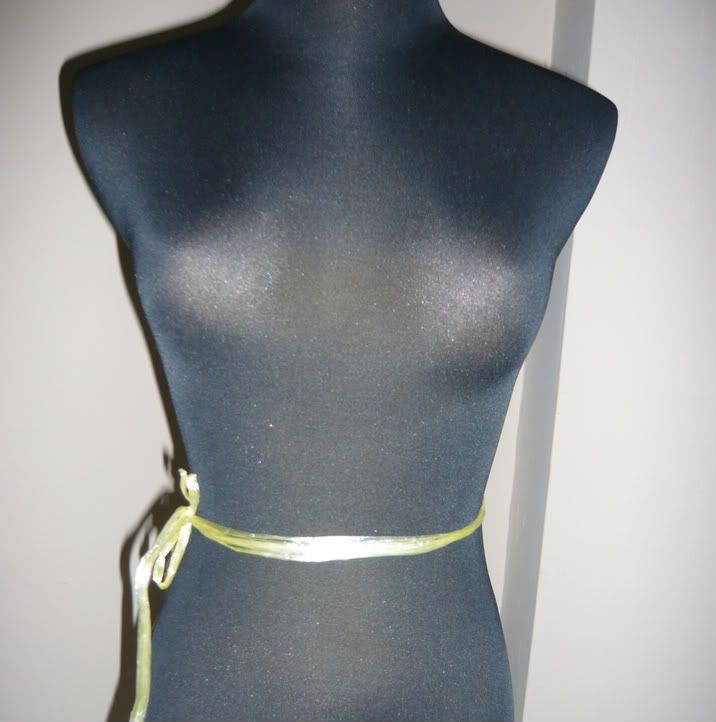 Mark your waist line by using string as a guide to take other measurement of your body.
 Measure shoulder from left shoulder to right shoulder
Length of shoulder : 2 =....
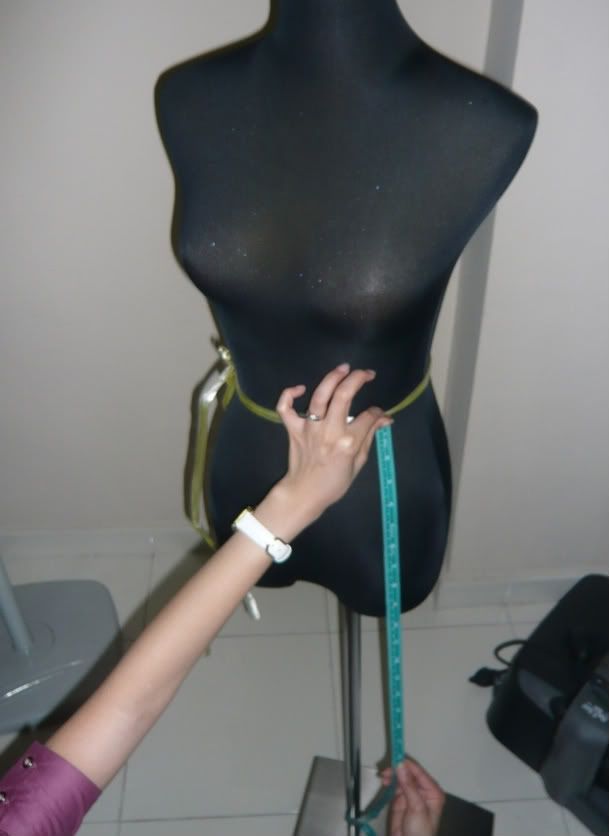
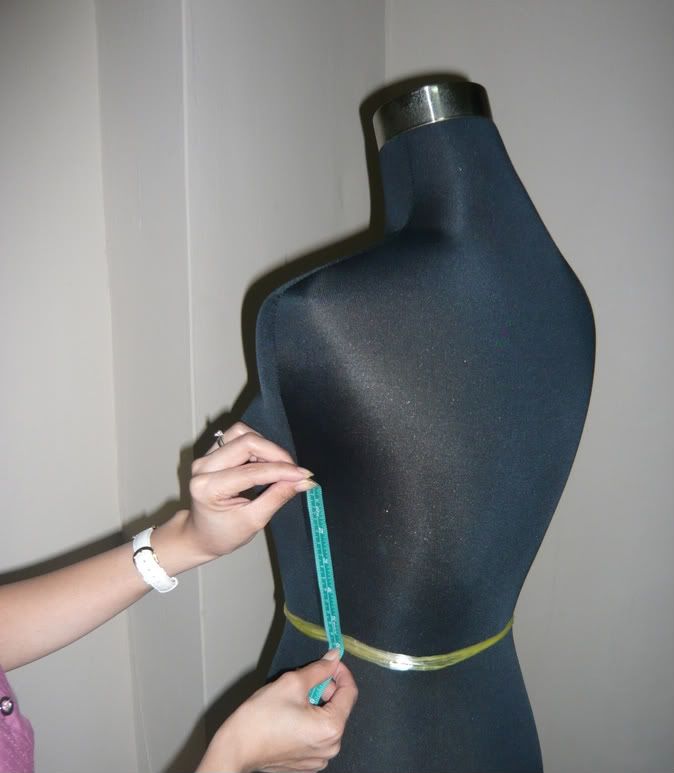 Side Lenght
 Shoulder to waist
 Bust Point
 Bust Width
Total lenght of Bust Width :2 =....
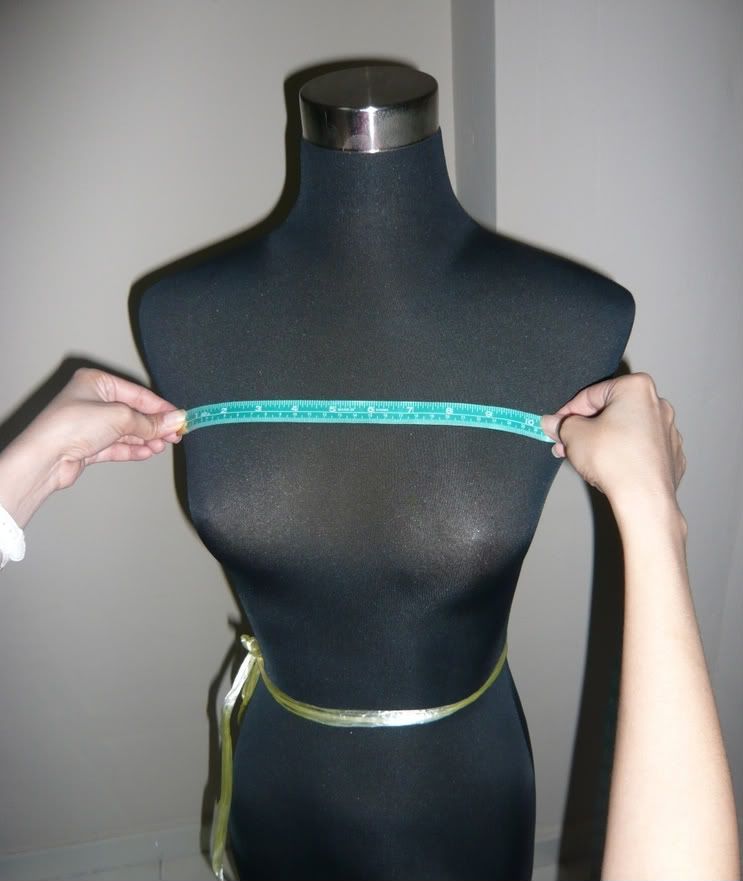 Chest
ChestLenght of Chest :2 =.....
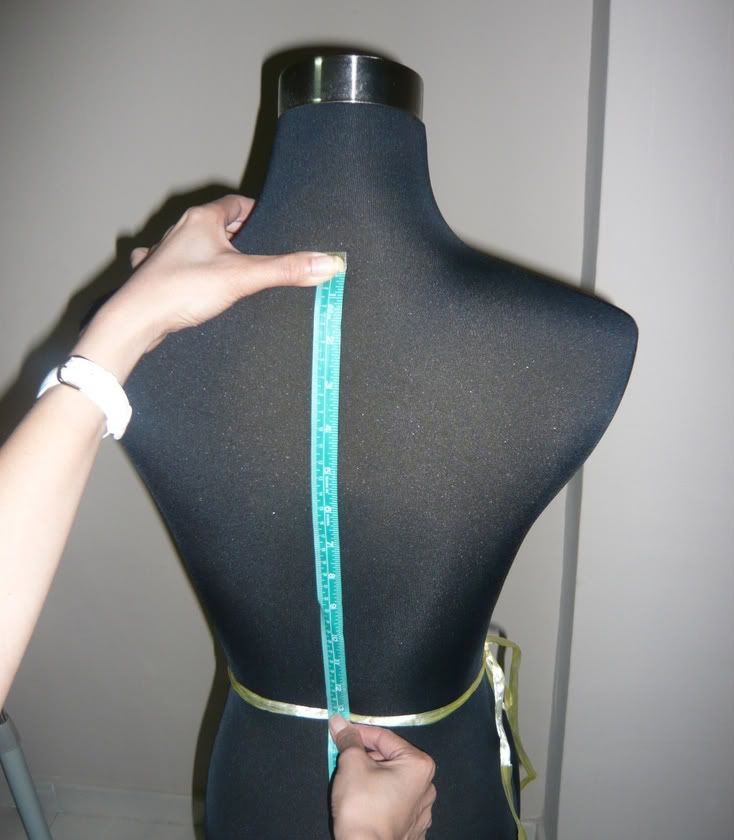 Back Legth
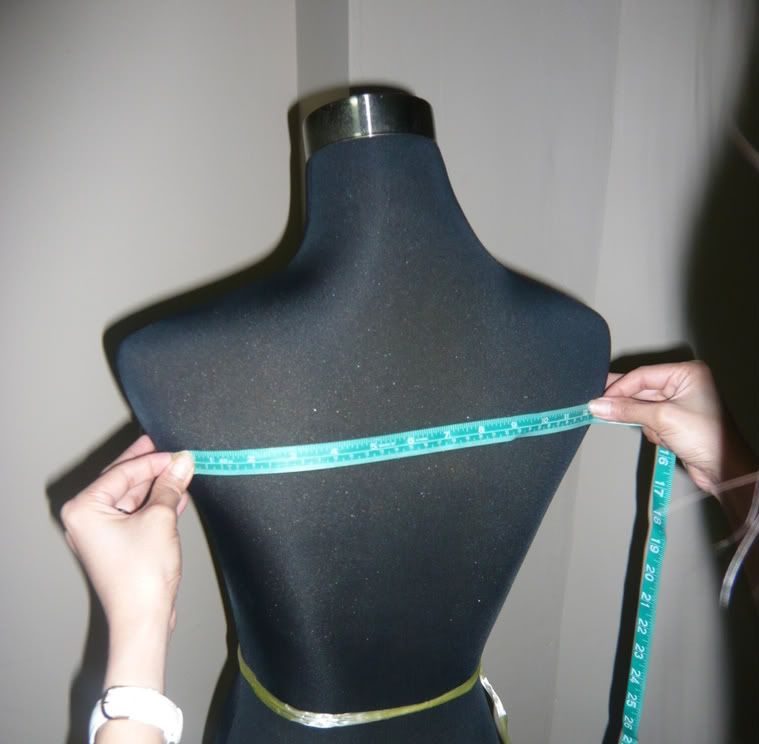 Back Width
Lenght Back Width : 2 =...
 Waist
WaistTotal of waist measurement :4 ( for front part) +1 =.....
:4 (for Back part) - 1 =.....
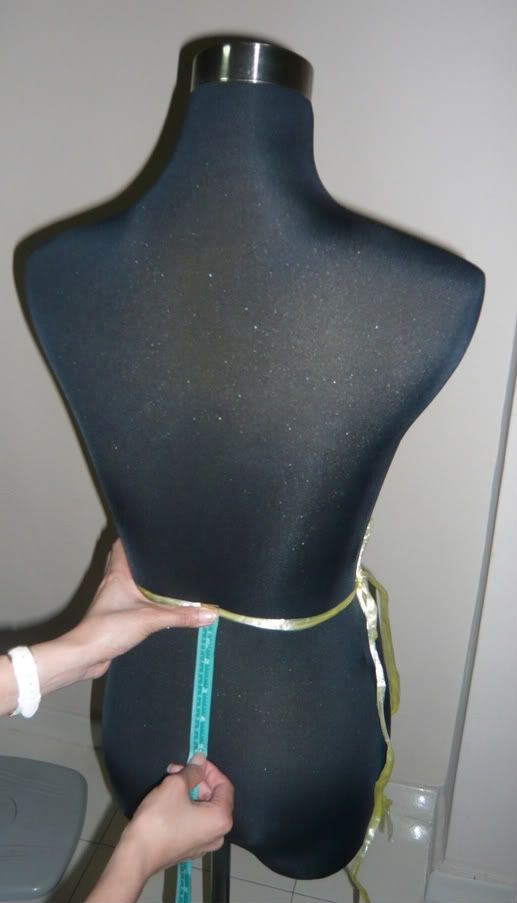 Hip to Waist
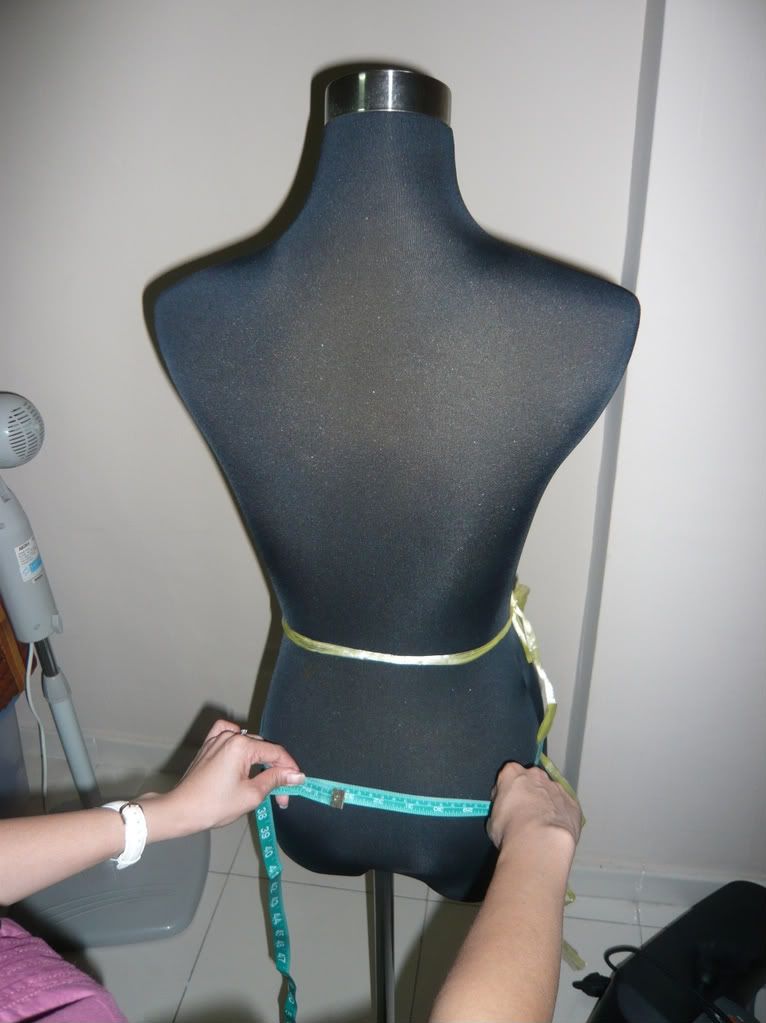 Hip
HipPlease give 2 fingers allowance for hip measurement.
Total hip:4 (for front Part )+1=....
:4(for back part)-1 =.....
 Skirt Lenght
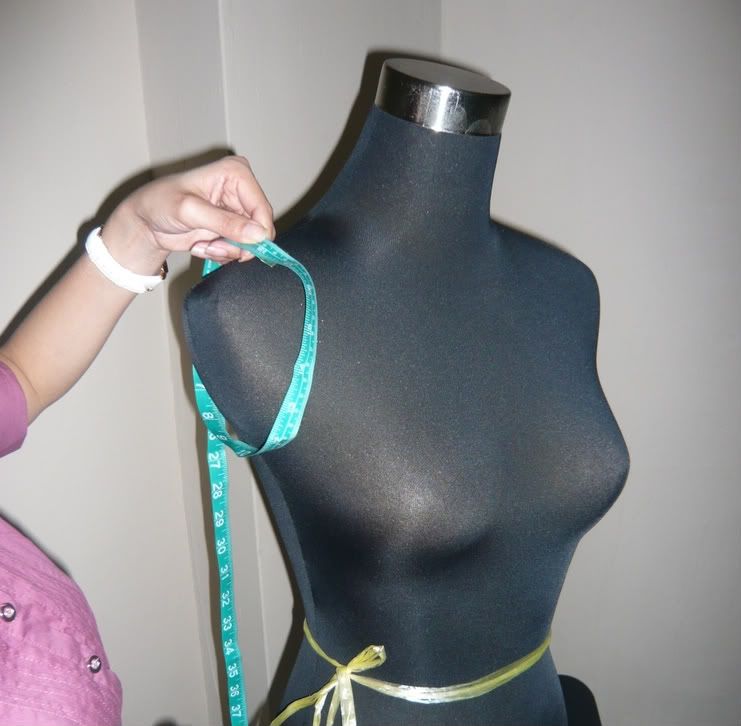 Armhole
Total armhole :2=.....
 Collar
Total Collar :6 +0.5<-------Horizontal
+1.5<-------Vertical
Sewing Terminology (Source :http://www.sewing.org/enthusiast/html/el_terminology.html)A number of terms used in sewing may be puzzling to you at first. The ones listed below are all defined in their proper places in the book (see the INDEX). In case you should come upon them without their explanation, however, here are some quick definitions.
- Back-tack - A few stitches taken in reverse to secure a line of stitching.
- Bar Tack - A very short thread reinforcement for points of stress
- Baste-marking - Marking with hand- or machine-basting.
- Clean-finishing - Edge of fabric turned under once and stitched. Used on edges of facings, hems, seams, etc.
- Construction stitching - Stitching, such as seams and darts, that shapes and holds a garment together (as distinct from stay-stitching, finishing, etc.).
- Crocking - Color rubbing off.
- Directional stitching - Stitching with the grain in woven fabrics. In knits, stitching all seams in the same direction.
- Ease - The allowance added to a body measurement to make a garment wearable.
- Ease, to (verb) - To attach a fabric edge to an edge that is slightly shorter. When ease-stitching, the longer edge s very slightly gathered.
- Fashion fabric - the outer fabric in a garment.
- Finger-pressing - Opening seam allowances with the thumbnail. Mostly used on fabrics that cannot be pressed.
- Give - the degree of elasticity in a fabric or a thread.
Grading - Trimming each seam allowance to a different width to reduce bulk and avoid a ridge. - Hand - The feel and drape of a fabric.
- Interlining - a layer of fabric added to a lining for warmth.
- Miter - The diagonal fold made at the corner in an edge finish, such as a binding, hem, etc.
Nap - In actual fact, the raised, hairy or downy surface on fabrics such as flannel, etc. In patterns, however, "with nap" means any fabric surface that looks different when held up or down, such a s pile, knits, one-way designs. - Non-woven fabric - A fabric not woven or knitted from thread or yarn. Non-woven fabrics, include fake leather and suede, felt, various interfacings.
- Notches - Markings on patterns used for matching. They are no longer notches but the opposite-they stand out from the cut edge. Notches cut into the seam allowance may weaken the seam.
- Pivoting - Moving the fabric around with the machine needle in it and the press foot up.
Pre-shrinking - Shrinking done before a fabric is used. - Self-fabric - The fabric from which the garment is made.
- Sizing - A starch-like finish, added in the manufacture of some natural-fiber fabrics and rayon. It is water- and steam-soluble.
- Stability - The degree to which a fabric resists pulling out shape.
- Stay - A tape added to a garment part to keep it in shape.
- Stay-stitching - Stitching done inside the seam allowance, before construction, to stabilize curved or slanted edges. Usually done on a single thickness, but also used to attach interfacing.
- Stitching-in-the-ditch -Stitching on the right side through a seam (in the ditch"), to fasten something underneath.
- Test seam - A seam done on a scrap of the garment fabric to test the machine stitch.
- Topstitching - hand- or machine-stitching, either functional or decorative, that shows on the outside of a garment.
- Understitching - a line of stitching along the edge of a facing or undercollar to keep it from rolling to the outside.
